> ## Documentation Index
> Fetch the complete documentation index at: https://docs.lumi.new/llms.txt
> Use this file to discover all available pages before exploring further.
# Stripe
> Set up payments in your website using Lumi's Stripe integration.
You can now set up Stripe entirely through Lumi's chat interface. Just describe what you need
* “Add a membership plan, with a monthly fee of \$9.99...”
* “Selling my consulting services, with a one-time fee of \$299...”
Lumi automates the entire Stripe integration process, creating products and pricing, generating checkout and portal edge functions, building the necessary database tables with RLS, and adding corresponding UI buttons—no manual coding or webhooks are required unless you choose to implement them for custom purposes.
## A Simple Step-by-Step Example
First, prepare a project that is ready for payment integration. Ensure all core functions and pages, like login and key features, are complete before proceeding.
For example, if you're going to create a membership subscription-based AI image generation website, first complete the login and AI functions.
Describe your payment needs, for example: "Implement a membership system via Stripe. Free users get 2 images daily; Pro users pay \$0.99/month for unlimited use."
Provide the API key for the Stripe sandbox environment. It is highly recommended to fully test the payment process in the sandbox before going live.
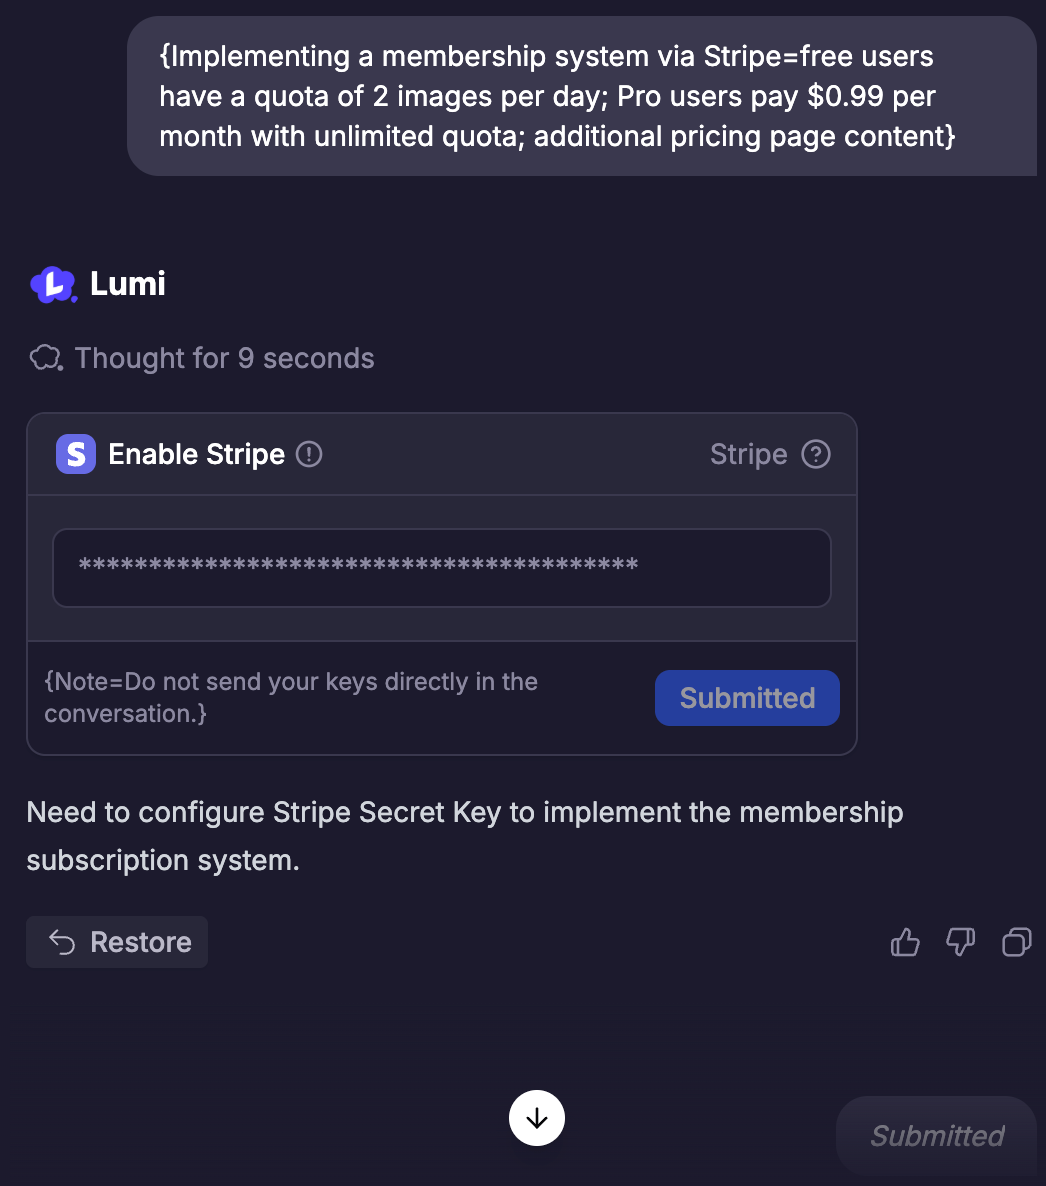 Lumi will automatically create the correct products along with their corresponding descriptions, prices, and payment cycles based on your needs. If there are any modifications, you can also inform Lumi through a conversation.
Then, Lumi will also help you improve the product information and purchase process in your project.
Lumi will automatically create the correct products along with their corresponding descriptions, prices, and payment cycles based on your needs. If there are any modifications, you can also inform Lumi through a conversation.
Then, Lumi will also help you improve the product information and purchase process in your project.
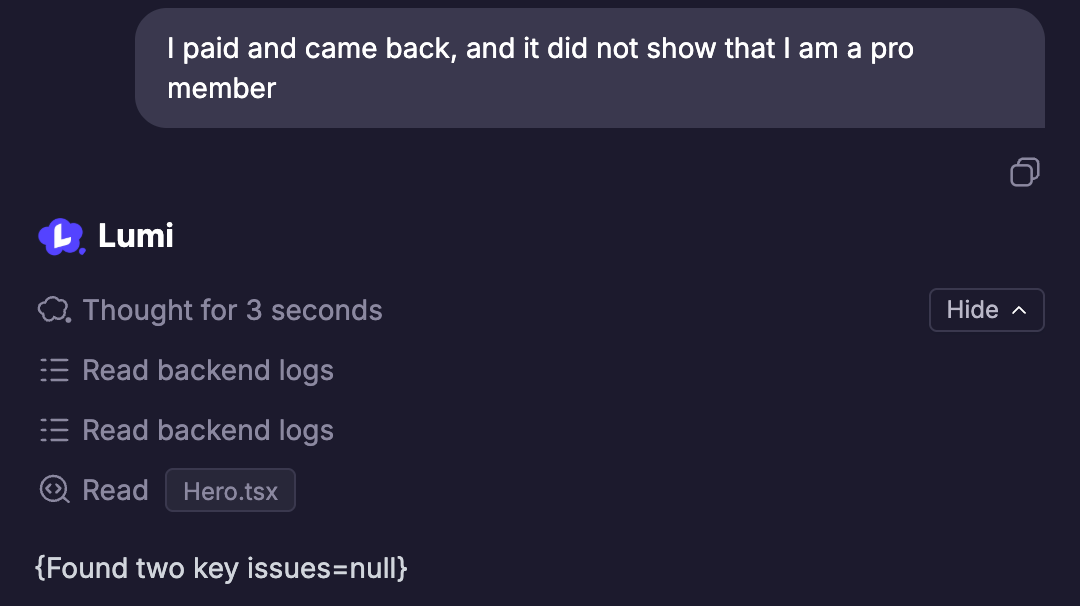
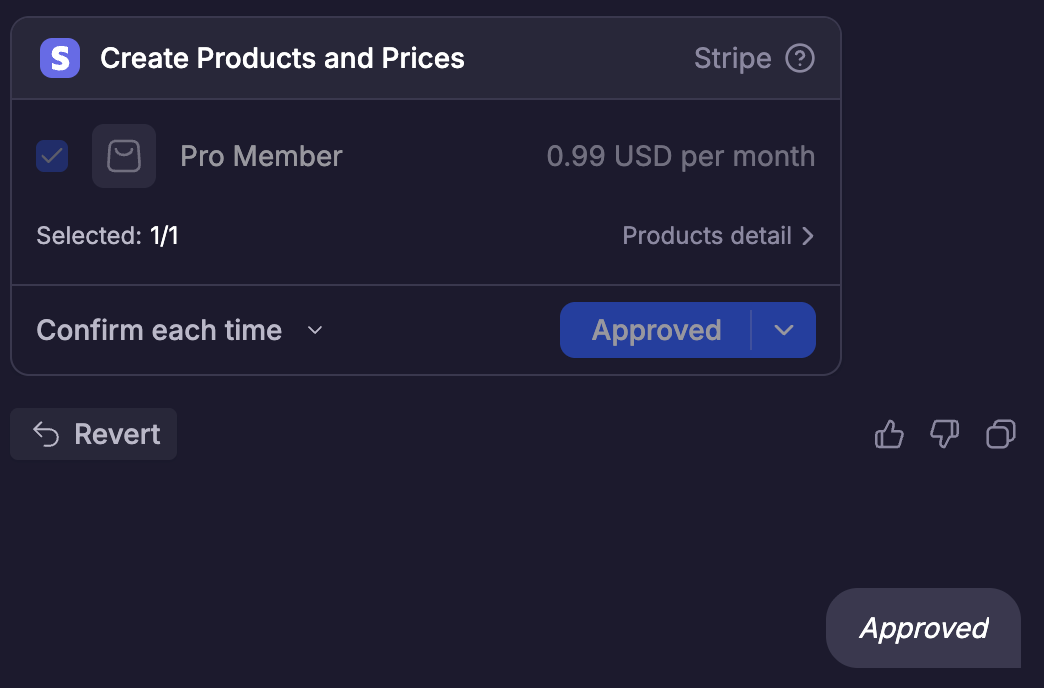 After completing the creation of products and payment settings, please test whether the product purchase process meets your expectations, including——
* After clicking "Purchase" on the page, whether it can correctly jump to Stripe's test payment page
* Whether payment can be completed normally using the test card (4242 4242 4242 4242)
* After successful payment, whether you can see the creation of subscription records in Lumi's database, and whether the project page displays corresponding purchase records (such as membership emble, purchase history, etc.)
When errors occur, Lumi automatically reads the backend records to better resolve the issue.
After completing the creation of products and payment settings, please test whether the product purchase process meets your expectations, including——
* After clicking "Purchase" on the page, whether it can correctly jump to Stripe's test payment page
* Whether payment can be completed normally using the test card (4242 4242 4242 4242)
* After successful payment, whether you can see the creation of subscription records in Lumi's database, and whether the project page displays corresponding purchase records (such as membership emble, purchase history, etc.)
When errors occur, Lumi automatically reads the backend records to better resolve the issue.
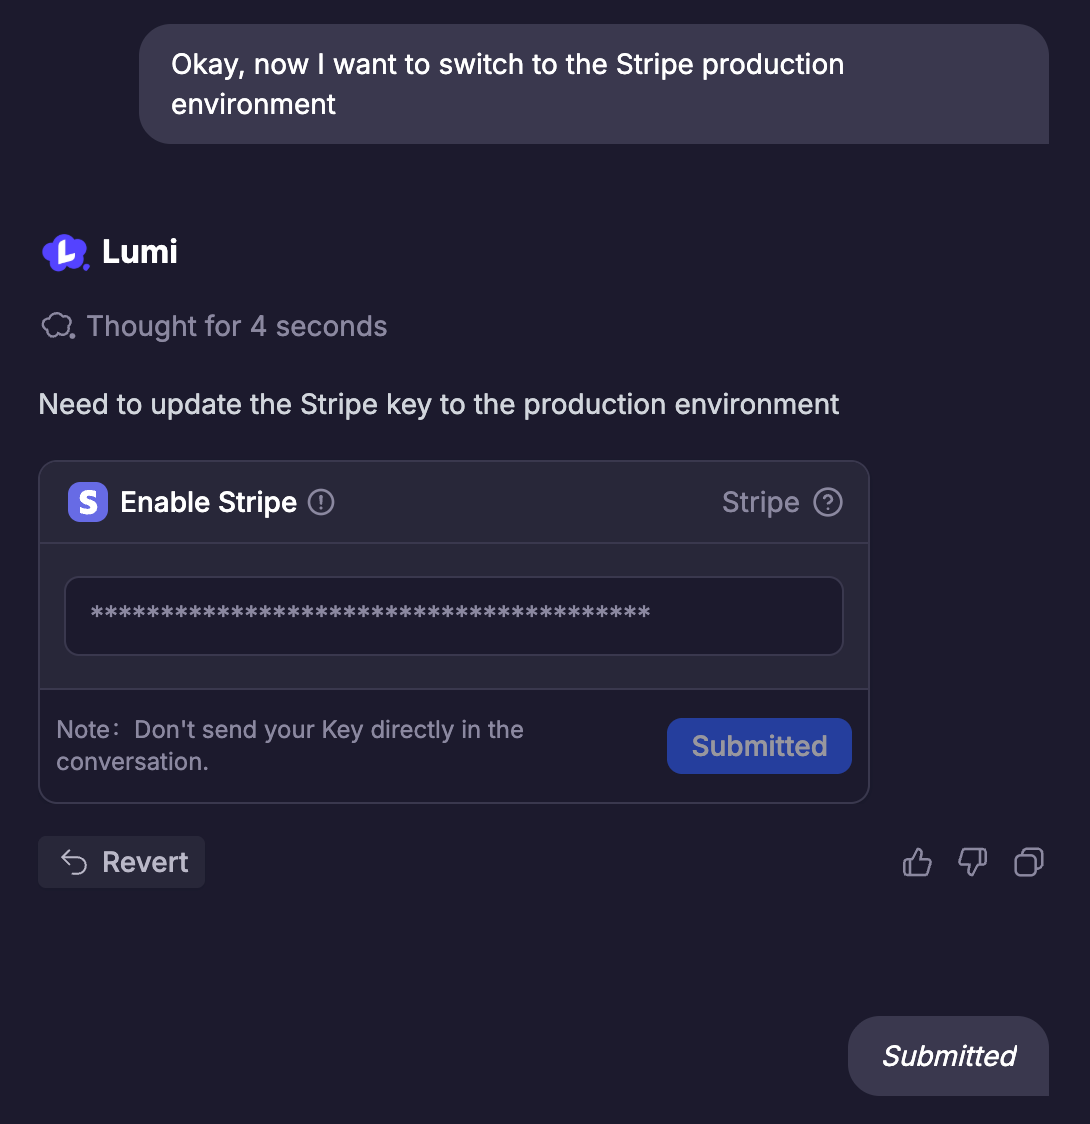
 After you have completed testing the payment process, you can ask Lumi to switch to Stripe's official merchant environment.
* First, you need to register and authenticate a merchant account in accordance with Stripe's requirements
* Second, switch to the API key for Stripe's official environment in Lumi
* Finally, complete the setup step by step according to Lumi's guidelines
After you have completed testing the payment process, you can ask Lumi to switch to Stripe's official merchant environment.
* First, you need to register and authenticate a merchant account in accordance with Stripe's requirements
* Second, switch to the API key for Stripe's official environment in Lumi
* Finally, complete the setup step by step according to Lumi's guidelines
 Tips: You can further test the payment process after switching to the official environment by creating low-value products or coupons.
* After switching to the official environment, test your payment process again to see if it meets expectations.
* Once everything is ready, launch it and share it with your users!
Tips: You can further test the payment process after switching to the official environment by creating low-value products or coupons.
* After switching to the official environment, test your payment process again to see if it meets expectations.
* Once everything is ready, launch it and share it with your users!